How to Use a Distortion VST Plug-In: A Guide for Beginners
Distortion is a powerful audio effect that can add grit, character, and intensity to your sounds. Whether you're producing rock, hip-hop, electronic, or experimental music, a distortion VST (Virtual Studio Technology) plug-in can be a game-changer. This guide will help you understand how to use distortion VSTs effectively.
1. Understanding Distortion
Distortion alters the original sound by clipping the waveform, creating harmonic overtones and a warmer, grittier, or more aggressive tone. It's often used on guitars, basses, drums, and even vocals or synths to add texture and energy. Common types of distortion include:
- Overdrive: Mild and warm, replicating analog tube amp saturation.
- Fuzz: Intense and gritty, popular in rock and lo-fi genres.
- Clipping: Hard and aggressive, great for modern electronic music.
2. Setting Up Your Distortion VST
1. Load the Plug-In
Open your digital audio workstation (DAW) and insert the distortion VST on your desired track.
2. Choose Your Sound Source
Distortion works well with various sound sources, so experiment with instruments like electric guitars, drums, synths, or even vocals.
3. Adjust Input and Output Levels
Set the input level to ensure the plug-in receives a clean signal. Adjust the output level to avoid clipping or excessive volume.

3. Key Parameters and Controls
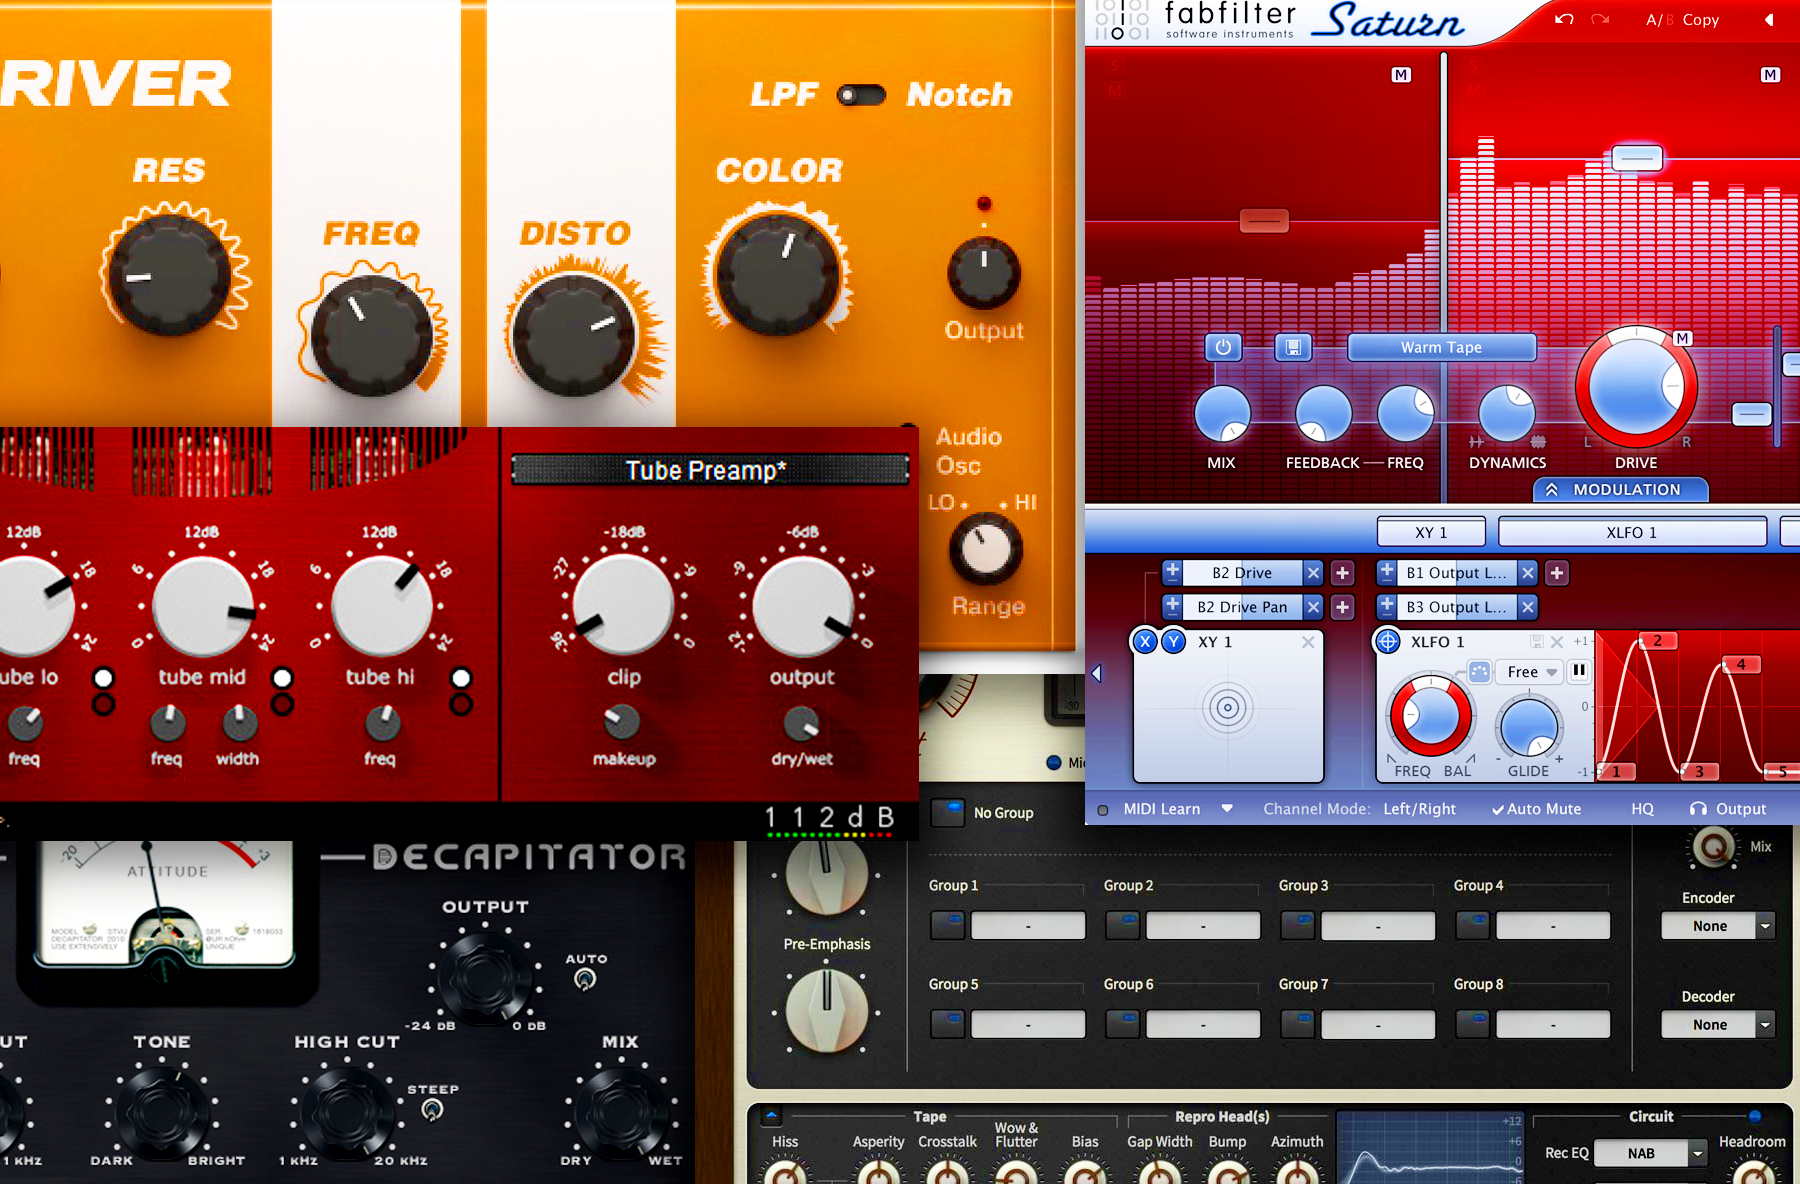
Most distortion VSTs include several adjustable parameters. Familiarize yourself with these key controls:
- Drive or Gain: Controls the intensity of the distortion. Increase it for more grit.
- Tone/EQ: Shapes the frequencies affected. For example, boosting mids enhances warmth, while emphasizing highs adds sharpness.
- Mix/Blend: Balances the dry (unaltered) and wet (distorted) signals. This is useful for subtle effects or parallel processing.
- Filter: Some VSTs include high-pass or low-pass filters to refine the distorted sound further.
4. Creative Applications
- Guitar and Bass: Start with mild overdrive for warmth, then gradually increase the gain for a heavy rock or metal tone.
- Drums: Apply distortion to kicks or snares to add punch and presence. Use sparingly to avoid overpowering the mix.
- Synths: Add distortion to synth leads or basses for a crunchy, dynamic character.
- Vocals: Use light distortion to add a vintage feel or bold fuzz for experimental tracks.
5. Tips for Best Results
- Use Automation: Automate the distortion parameters to create dynamic changes in your track.
- Stack Effects: Combine distortion with reverb, delay, or modulation for unique textures.
- Parallel Processing: Duplicate your track, apply distortion to one version, and blend it with the clean signal for precise control.
- EQ After Distortion: Use an EQ to tame harsh frequencies and ensure the distorted sound fits well in the mix.
6. Experiment and Refine
Each distortion VST has its unique sound. Spend time exploring presets and tweaking parameters to find what suits your track. Remember, subtlety can be just as powerful as extreme distortion, depending on the context.
Mastering distortion is about balancing creativity and control. With practice, you can transform ordinary sounds into something extraordinary using your distortion VST. Experiment boldly, and let your music shine!


