- Please login to purchase products.
Product Description
Anyone Can Master!
With Master Suite, mastering becomes as easy as 1-2-3. Simply adjust the loudness and finalize your track with the 3 band equalizer and stereo image controls. Sending out Songs and Instrumentals to clients, record labels, online stores and streaming services require them to have an industry-standard loudness in order to have a state of the art sound. The LUFS display indicates an industry-standard loudness by turning green and warns you when you start getting too loud. An intelligent algorithm applies the right amount of limiting and compression which can be controlled with soften and mix. The HD interface looks clean, feels great and can be seamlessly resized to match your screen resolution.
Features
- THD - Total Harmonic Distortion, this can ‘fatten’ up the master and help increase the perceived loudness.
- Loudness - Increase or decrease the loudness of your master in decibels. Uses an intelligent compression and limiting algorithm to ensure maximum loudness with minimal distortion.
- LUFS Meter - The LUFS meter ( Loudness Units relative to Full Scale) is an industry-standard representation of perceived loudness. The meter goes green when in the ‘sweet’ zone of a loud master without over compressing the dynamics of your mix.
- Soften - This softens the compression curve, also known as a ‘soft knee’.
- Mix - Mix the compressed audio with the original. If you are pushing the loudness hard and the master is sounding over-compressed with a loss of dynamics, this control can help restore some dynamics while still keeping the master loud.
- Analog - Changes the frequency response of the master suite to sound more Analog.
- 3 Band Equalizer - Cut or boost the low, mid and high frequencies by up to 6dB.
- Stereo Image - The Mono control works by making the audio completely mono below the set frequency. This can help to tighten up the low end and ensure it is coming only from the center of the stereo field. The Stereo control enhances the stereo field for the frequencies only above the mid-range, leaving the lower frequencies untouched. This can be used to add extra ‘space’ in the master by pushing instruments even wider in the stereo field.
- Ceiling - Sets the maximum loudness for peaks. Your master will not go louder than this.
System Requirements
macOS
- macOS 10.14 Mojave or later (64-bit only)
- Intel or M1 Apple Silicon Processor
- 4 GB RAM
- 80 MB file size
- VST2, VST3, AAX, AU
Windows
- Windows 7 or higher (64-bit only)
- 4 GB RAM
- 80 MB file size
- VST2, VST3, AAX

View Installation Instructions
Please note: Sektor is used as an example.
Registration
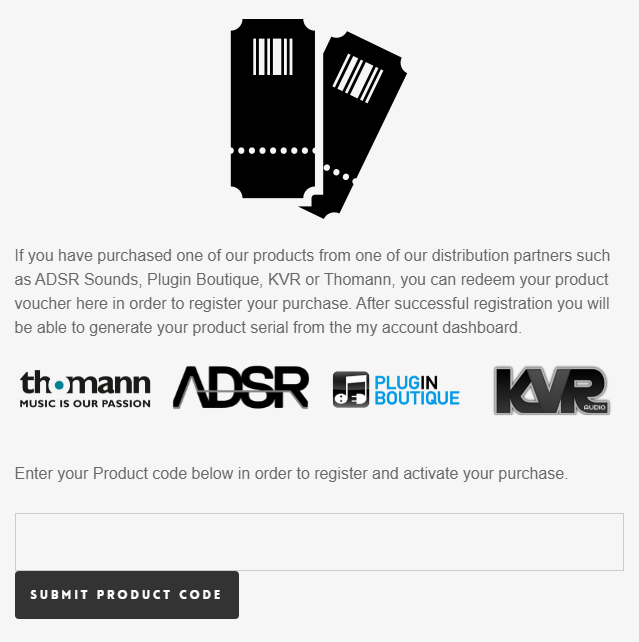
1. Click Download in your Sounds Space account or go to https://initialaudio.com/register/.
2. Enter the product code found in your Plugin Boutique account and click 'SUBMIT PRODUCT CODE'.
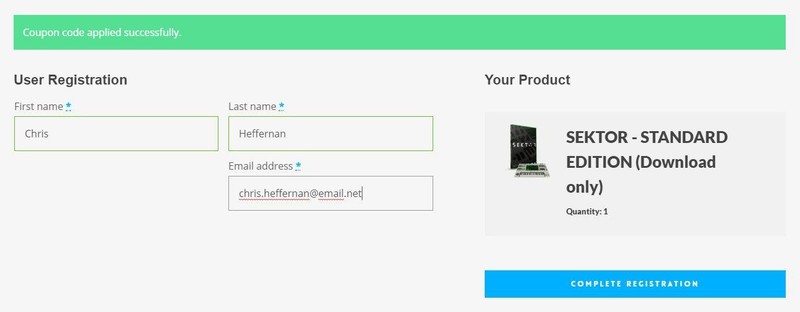
3. Please login, or create an account by entering your details > 'COMPLETE REGISTRATION'. Your product code is now registered in your Initial Audio Account.
Mac Installation
1. Go to 'My Account > Click 'My Downloads> Click one of the Mac Download links. (If you have issues with one, try another server).
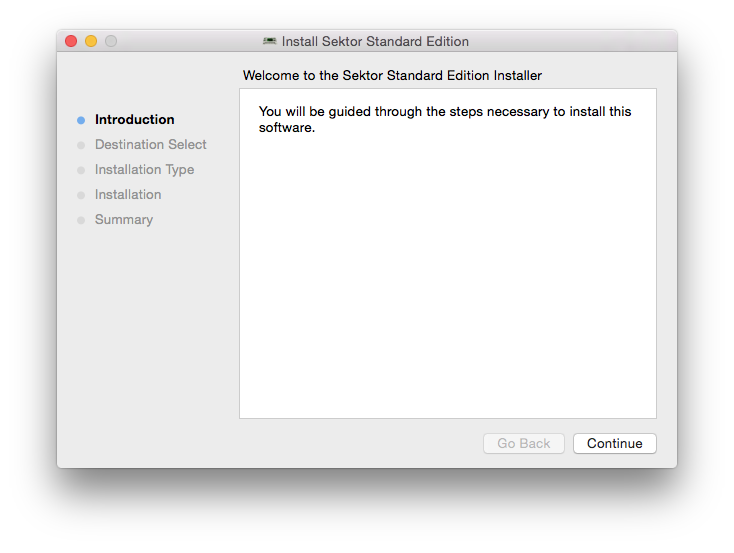
2. Open the .pkg file once it has downloaded > Click 'Continue'.
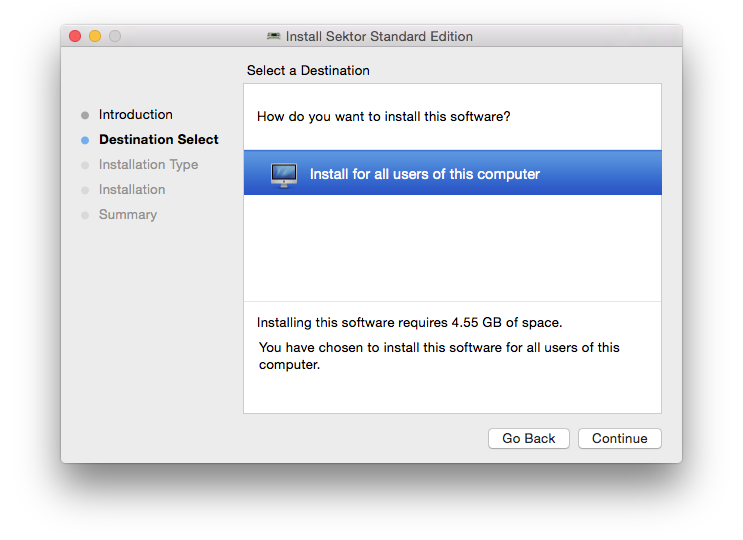
3. Select an install location > Click 'Continue'.
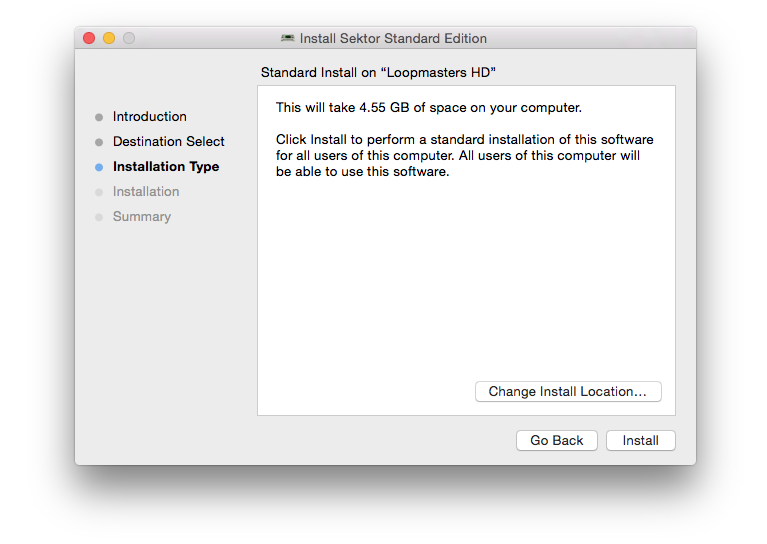
4. Click 'Install'.
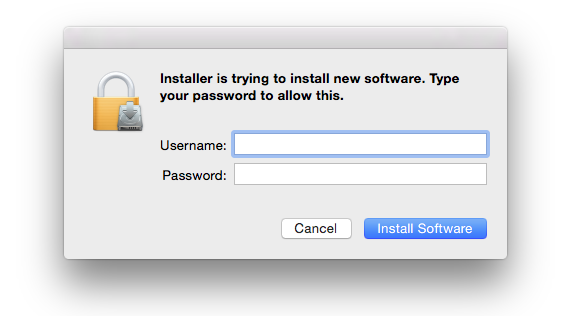
5. Enter your computer username and password > Click 'Install Software.
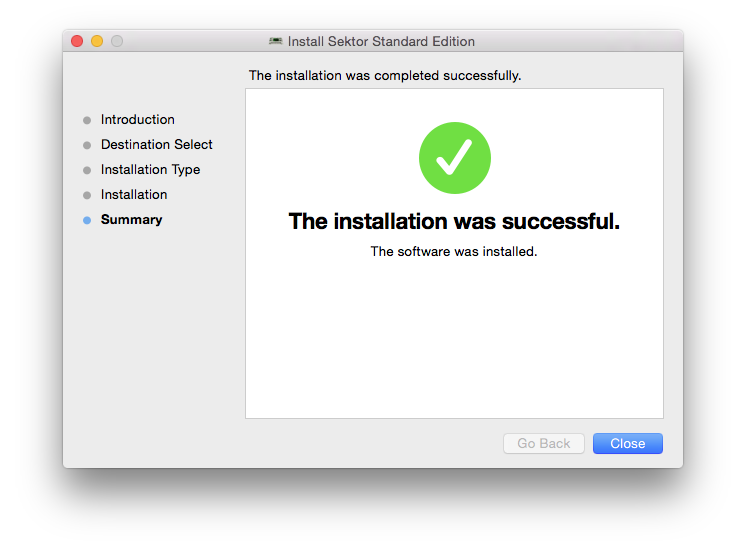
6. The Installation is complete > Click 'Close'.
Activation
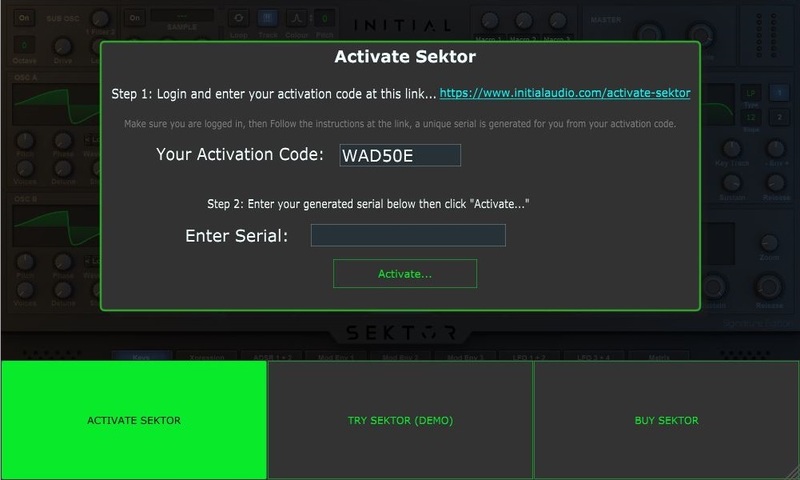
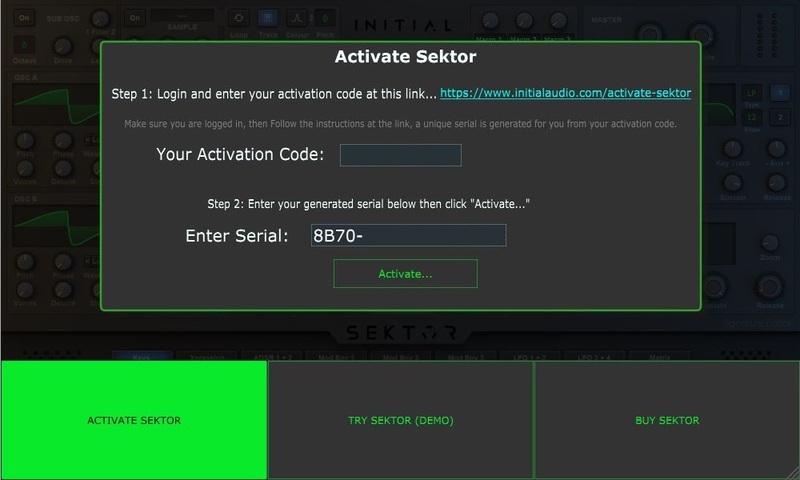
1. Open the plugin in your DAW (you may need to restart your Mac and/or rescan your plugins) > Copy the Activation Code displayed > Click the activation hyperlink displayed on the plugin.
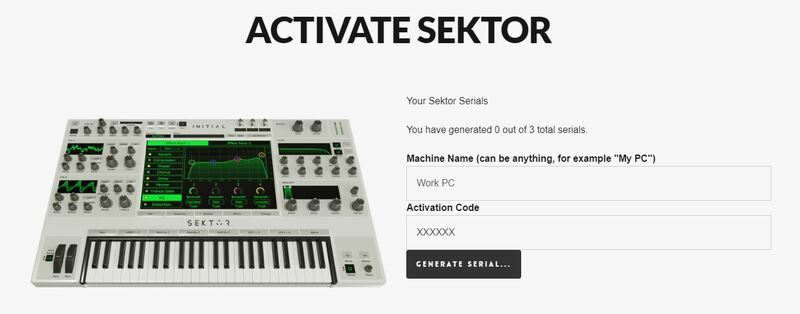
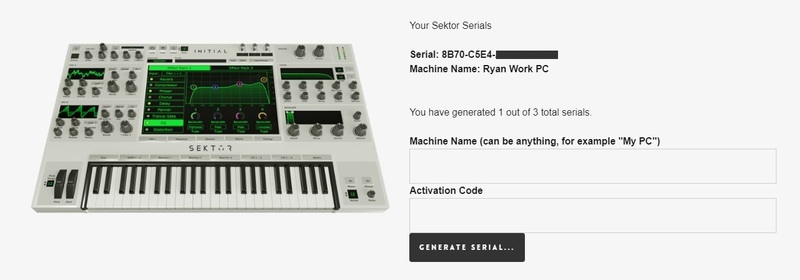
2. Enter the name of your device (this can be anything) > Paste your activation code > Click 'GENERATE SERIAL...'.
3. Copy the 16-digit serial that's displayed on this page.
4. Go back to the plugin in your DAW > Enter your 16-digit serial > Click 'Activate...'.
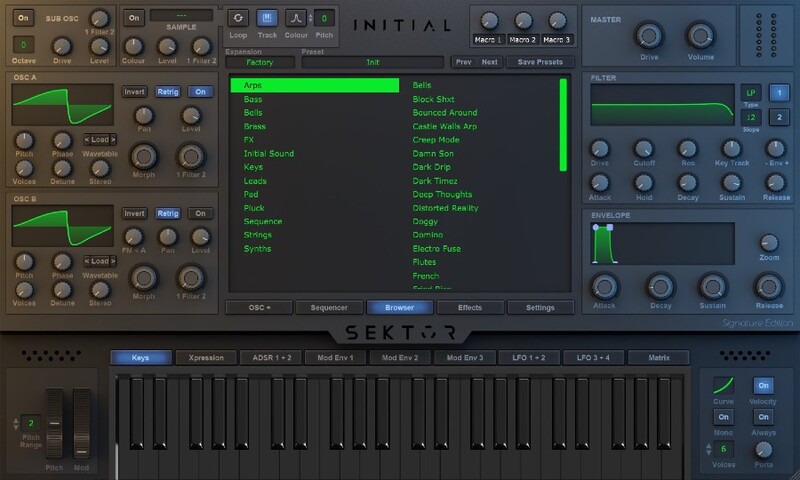
Your software is now activated and ready to use!
Windows Installation
1. Go to 'My Account > Click 'My Downloads' > Click one of the Windows Download links (if you have issues with one, try another server).
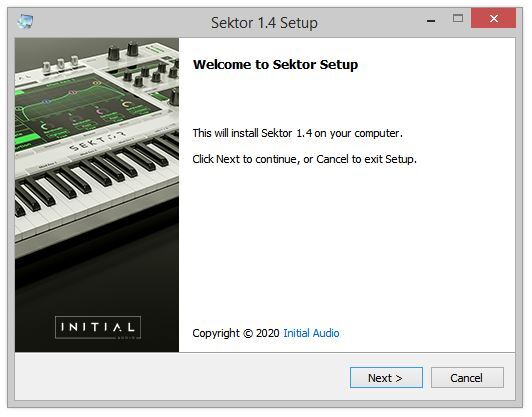
2. Double-click the .zip file to extract its contents > Double-click the .exe file to begin the installation > Click ‘Next’.
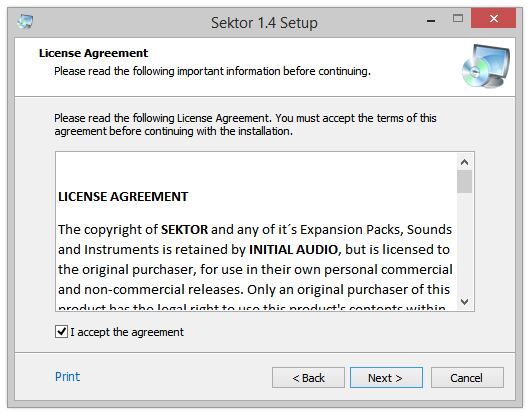
3. Read the License Agreement > Select ‘I accept the agreement’ > Click ‘Next’.
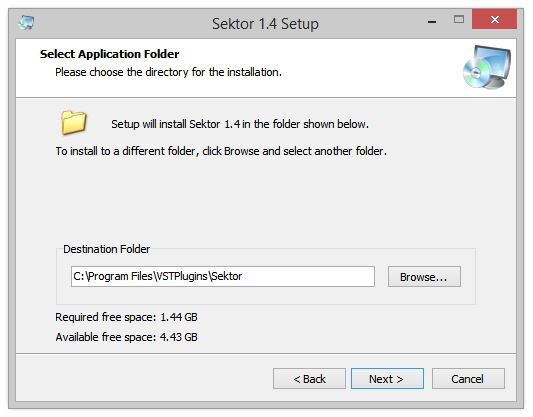
4. Choose the location for the installation (leave the default if you're unsure) > Click ‘Next’.
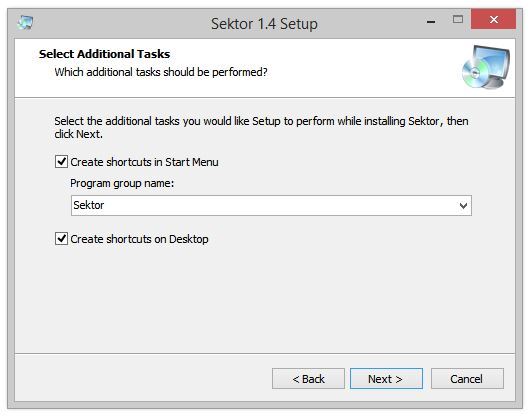
5. Select any additional tasks you wish to be performed > Click ‘Next’.
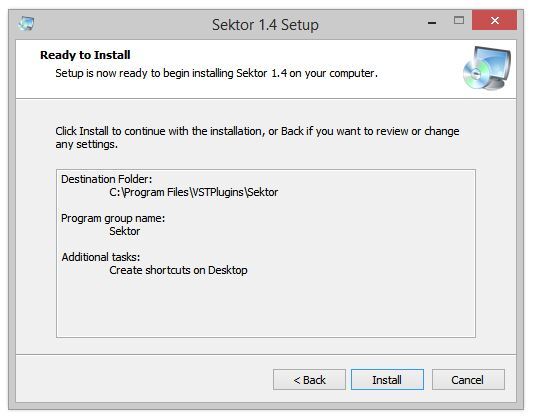
6. Click 'Install'.
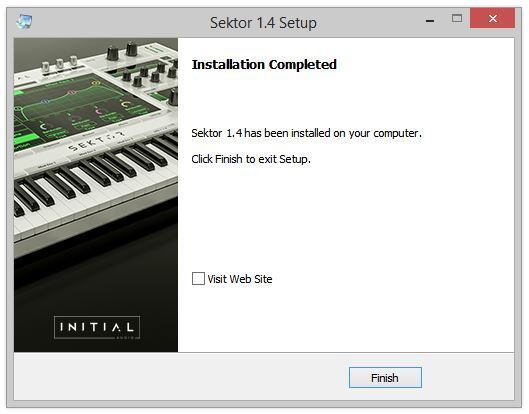
7. The installation is complete. Click ‘Finish’.
Activation
1. Load the plugin in your DAW (you may need to restart your PC and/or rescan your plugins) > Copy your Activation Code > Click the activation hyperlink displayed on the plugin.
2. Enter the name of your device (this can be anything) > Paste your activation code > Click 'GENERATE SERIAL...'.
3. Copy the 16-digit serial that's displayed on this page.
4. Go back to the plugin window in your DAW > Enter your 16-digit serial > Click 'Activate...'.
Your software is now activated and ready to use!

