Product Description
Bit Crushing
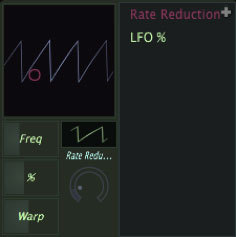
SC Bitcrusher allows you to control bit rate, rate reduction, and stereo spread (with visual feedback). We’ve also added a filter section on the noise to allow you to alter the characteristics of the noise, taking it from white (full spectrum) to pink, or anything in between. The addition of an LFO on the filter even lets you sweep the noise for a truly unique effect.
Automation

The SC Bitcrusher plugin features full automation of all parameters (noise, rate reduction, bit depth, wet/dry mix). This powerful feature unlocks the full potential of the plugin, allowing you to create more complex and expressive sounds than possible with manual tweaking.
Presets

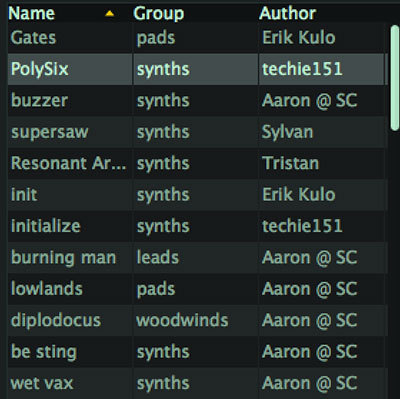
Save presets and (optionally) share them with other SC Bitcrusher users online
System Requirements:
Mac:
- OS X 10.7 or newer
Formats:
- AAX
- AU
- VST
- VST3
Windows:
- Windows 7 or newer
Formats:
- AAX
- VST
- VST3
View Installation Instructions
Install Instructions - (For Windows, Using Addiction Synth as the example)
1. Download and run the installer. This can be found in your Plugin Boutique User Account under option 2.
2. Open the .zip (Windows) or .pkg (Mac) and unzip the files.

3. Place the two VST files (the DLLs) in whatever directory you prefer to keep VST plugins in, on your system.
(Please note: The two plugin files are identical except that one is 32 bit, and the other is 64. Keeping both ensures that you can run this on any VST host).

4. Use a VST plugin host to scan the directory that contains the plugin files.
5. Find the "SC Addiction Synth" plugin on your host's plugin list and double click it.
6. Enter your serial number (which can be found in your Plugin Boutique User Account) and enter the email address to which the plugin will be registered to).

Your plugin will now be ready to use!
Install Instructions - (For Mac, Using Addiction Synth as the example)
1. Download the Mac installer from your Plugin Boutique user account.
2. Once downloaded, open the .pkg file.
3. Follow the instructions in the installer.

4. Select the destination where you wish to install your plugin.

5. If you're happy with the install location, click 'Install'. If not, click 'Change Install Location' and select ano different folder.

6. Your plugin will now be fully installed.

7. Open your host DAW and open the plugin.
8. Enter your serial number (which can be found in your Plugin Boutique User Account) and enter the email address in which the plugin will be registered to.


